linking-addresses-to-articles-Introduced in PrintCMR version 16.5v5, Articles can be linked to Addresses, so that the inclusion of articles in freight documents can be provided with all kinds of codes that belong to that address.
This can significantly speed up the processing of the correct data and may even prevent errors.

Read here how this works exactly.


For the ADR forms and possibly also for all other freight documents, the articles can be linked to the addresses.
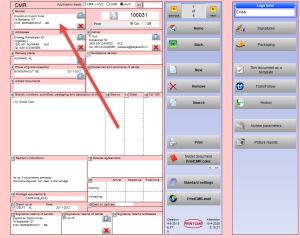
PrintCMR is set up so that any of the listed addresses can be used, whether or not e.g. the Sender is, Consignee, Carrier or other addresses in the freight document.

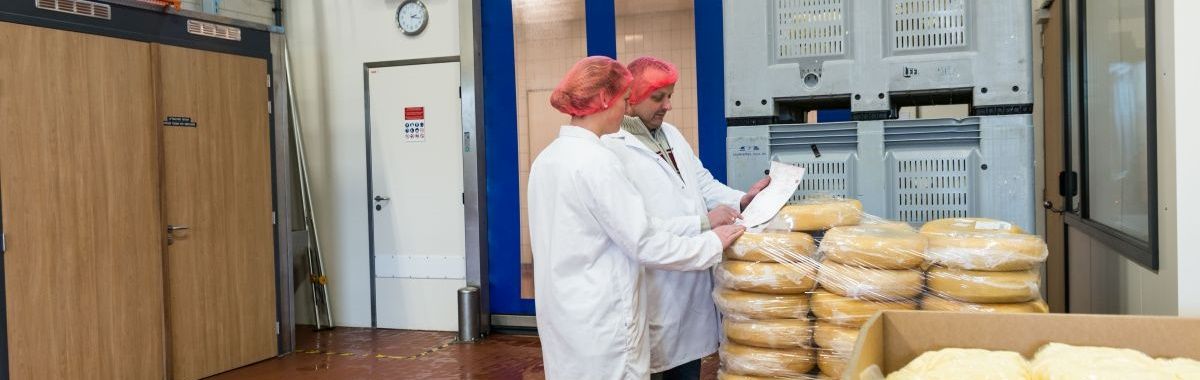
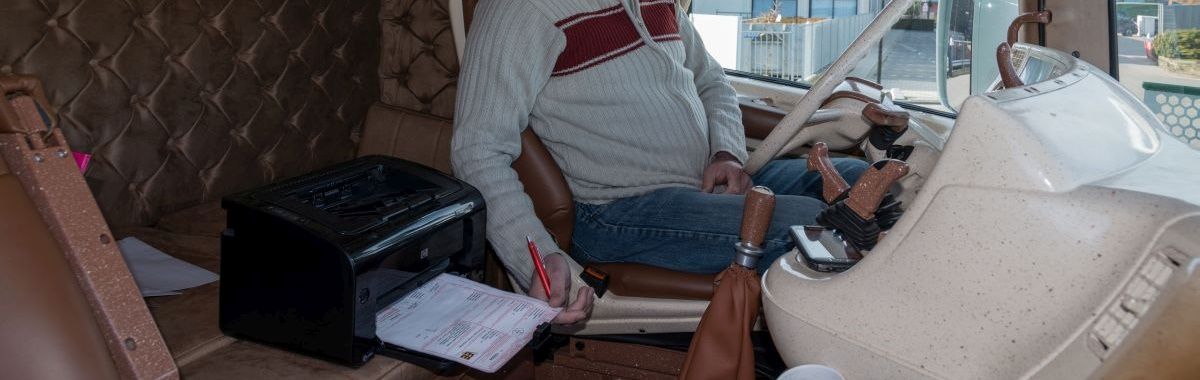
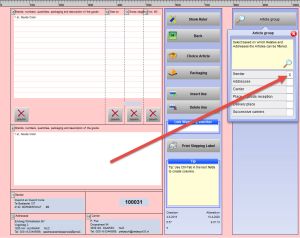
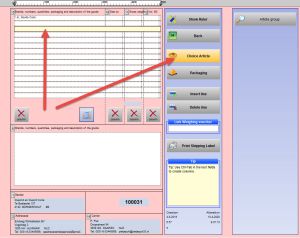
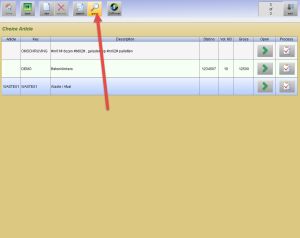
Click on the photos below for an enlargement (English language).


Step 1:
Enter the Article group code in the articles.
Make this Article group sufficiently unique and preferably also recognizable.
In our example, we apply WASTE01 in one of the articles.


Step 2:
Select the Articles tab under the correct Address / Relation.
In our example, we entered the following:

WASTE01
WASTE02

When applying this address, this will search for both WASTE01 and WASTE02.
The result found is immediately visible.


Step 3:
In our example we use the CMR, but it can be applied in all freight documents.
We use the Address / Relation in the CMR at Sender.
It can be used with any type of Address.

Then click on the Articles box to open the screen for entering the Articles.


Step 4:
In the Articles screen, the button "Article group" can be opened.
For this consignment note, you can choose which of the Addresses the "Article group" applies to.

This setting can be standardized using Templates.
This standard can also be determined via the "General settings" if completely new freight documents are created.


Step 5:
Then select the line on which the new item is to be applied, followed by the "Choice Article" button


Step 6:
The overview of the Articles list.
It can be seen that here only 1 article exists with WASTE01 in it.

Click the button "group" to start searching via the Article group method.

If the button cannot be used, there are no known "Article group" codes to apply this search.


Step 7:
The search screen opens.
Additional search arguments can be specified if desired, but not necessary.

In our example, in addition to the Article group (WASTE01 and WASTE02), we also search the description with the text "was".

After clicking the "group" button again, PrintCMR will perform the total requested search.


Step 8:
The result found is displayed.

In our example, only WASTE01 is found, along with the condition of "was" present in the description.

In this way it becomes very easy to limit the long list of Articles to the allowed list of articles with the correct Address / Relation.

Make your choice via the "Process" button to include the Item in your freight document.
All set descriptions, codings and quantities are transferred to your freight document.


The normal "search" button is also available.
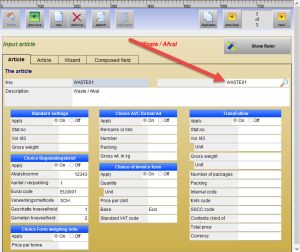
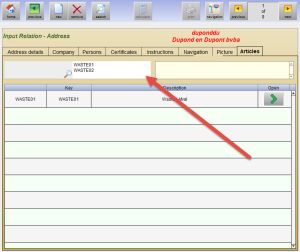
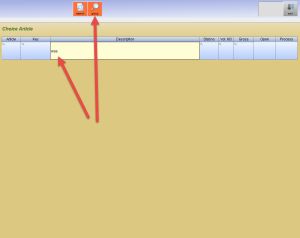
This button still makes it possible to search the full Articles list.


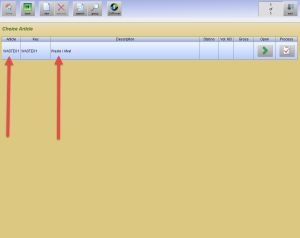
Have fun with the "Article group" function.