


|

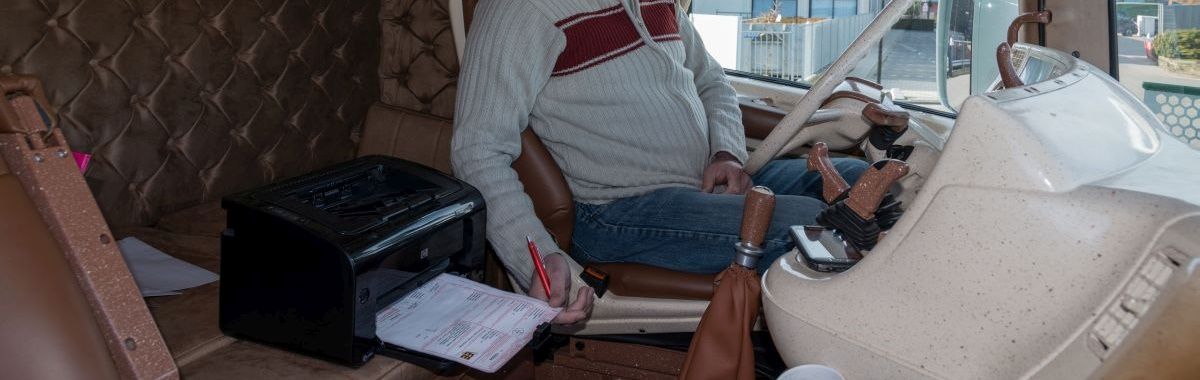
Even so, some companies continue to use them because the dot matrix printer's fanfold paper forms offer advantages that laser printers cannot match.
For example, fanfold paper forms are much thinner, meaning that the impression on the carbon paper is much clearer. The descriptions on the bottom sheet in particular can be read far more clearly than the results with laser forms.
In addition, distributing thick packs of CMR forms is also easier with fanfold paper forms as the perforated edges hold the pages firmly together.
The technology used for dot matrix printers has been around ever since the first printers were built.
This outdated technology is based on receiving characters, which the printer translates into a graphic image of the character.
All the computer had to do was transmit a few characters and the printer did the rest.
The modern approach is completely different. Windows does not transmit characters, it sees an A4 sheet as a complete drawing. Next, Windows transmits a drawing and the printer does little more than print the drawing.
So what is the problem?
The CMR on a laser printer is a form based on the A4 paper size.
Traditionally, old-fashioned dot matrix printers do not recognise A4. They do recognise a shorter (11 inch) or longer paper size (12 inch) than A4.
In the past, a computer sent a special page break command to the printer and, if the printer was set up properly, it would automatically ensure the correct page break.
Rather than sending page break commands, Windows uses the page length.
And this is where things go wrong.
Many printer drivers for dot matrix printers do not process the page length correctly, which leads to significant problems when using fanfold paper forms.
We spent several days testing to determine the right settings for the Oki and discovered that only one method is effective.
Because the slightest variation leads to a major malfunction, yet again...
|
Set your printer to a paper length of 12 inches, based on the tractor feeder on the rear side.
Load blank fanfold paper forms in the printer: the settings are printed here when you make changes.
On the printer, press the Shift and Menu button. The "Menu" lamp illuminates.
Click Group until the "Rear feed" option appears.
Click Item until Page length appears
Click Set until the paper length is set to 12"
Click Shift and Menu to save the changed settings.
|
Printing in PrintCMR
Start PrintCMR and then print the CMR.
When the screen preview appears, select "Continuous" to process the printer settings.
Select the 12 inch paper format referred to above and then set the print quality to "180x180 dots per inch".
Strangely enough, the print quality affects the page break.
We have no idea why this is so. We have discovered the same situation with Epson printers where an even lower print quality works well.
The fact is that 180x180 works well with our printer.
The new version of PrintCMR will include a new option for printer selection to prevent PrintCMR from automatically adopting the A4 format setting.
We hope that these tips are helpful.
If you have different experiences with dot matrix printers, or can recommend specific printers for use with PrintCMR, the team at PrintCMR looks forward to hearing from you.
We will be delighted to visit you for a test!
Good luck with your dot matrix printer.
The above settings worked successfully with the following dot matrix printers:
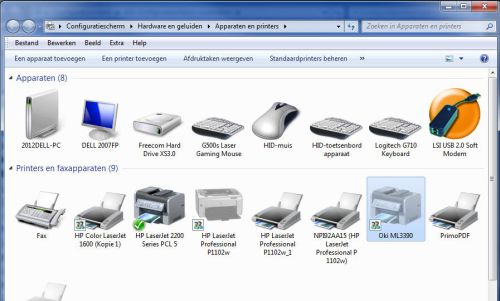
OKI Microline 3390
Epson LQ590
Tally Dascom T1430 (available from CMR Concurrent)
Nec Pintwriter 7, Pinwriter 72 (based on the NEC Pinwriter driver found via Windows Update)